


This post will show you the steps to add Adsense to Blogger.
Google doesn’t only allow you to set up a blog for free.
It also allows you to earn money from your blog.
An easy way to monetize your blog is through Adsense.
As you would have already known, Adsense allows you to place ads on your blog.
These ads are served by Google. When a visitor clicks on an ad and visits the advertiser’s page, Google earns money.
Google then splits the revenue with you. You get 68% of the revenue and the balance goes to Google.
So, how do you add Adsense to Blogger? Here are the steps on how to go about it.
Contents
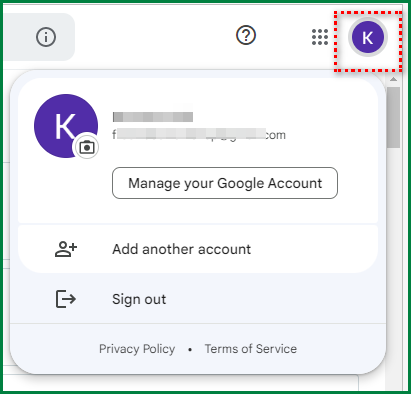
Step 1- Sign in to Blogger
Sign in to Blogger and choose the appropriate account.
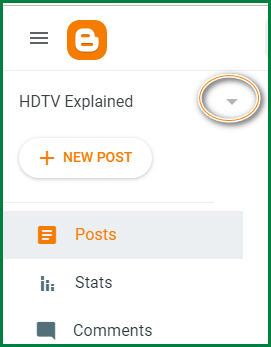
Step 2 – Select Your Blog
If you have more than one blog, select the one you want to monetize.
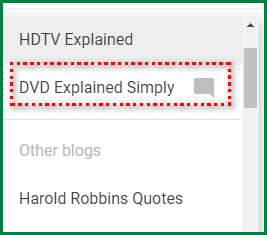
Do this by clicking on the dropdown arrow,
Then select your blog.
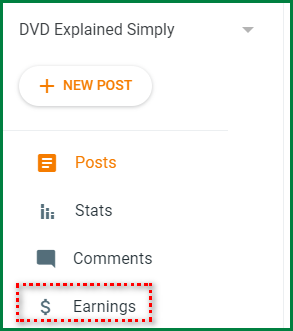
Step 3 – Select Earnings
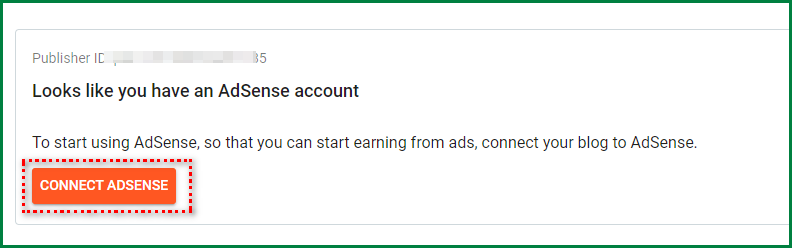
Step 4 – Connect Your Adsense Account
If you already have an Adsense account associated with the Gmail adderess, Google will prompt you to connect to it.
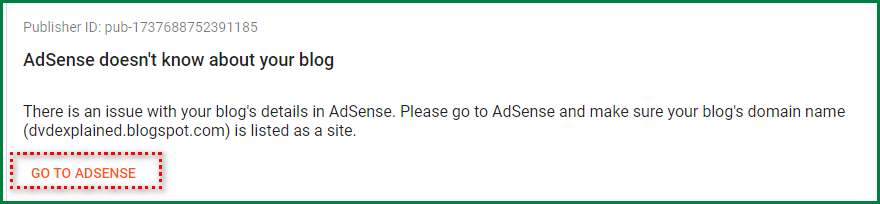
Step 4 – Add Your Blog to Your Adsense Account
You would need to add your blog as a site to your Adsense account.
Do this by clicking on Go to Adsense.
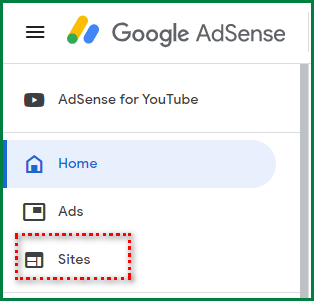
Step 5 – Go to Sites
Once you’re in your Adsense dashboard, click on Sites.
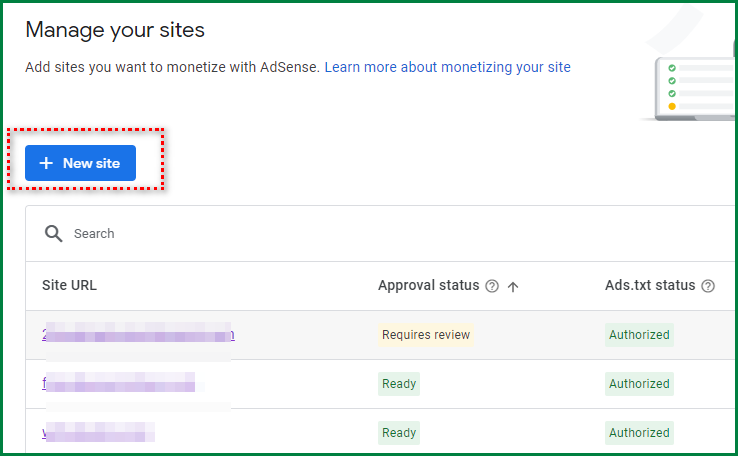
Step 6 – Add Your Blog URL
On the Sites section, you’ll see a list of sites already added to Adsense.
Click on + New Site.
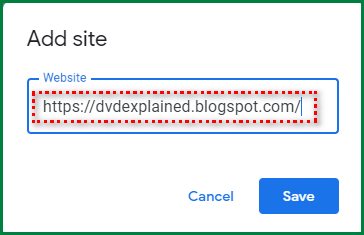
Step 7 – Enter Blog URL
Add your blog URL and hit save.
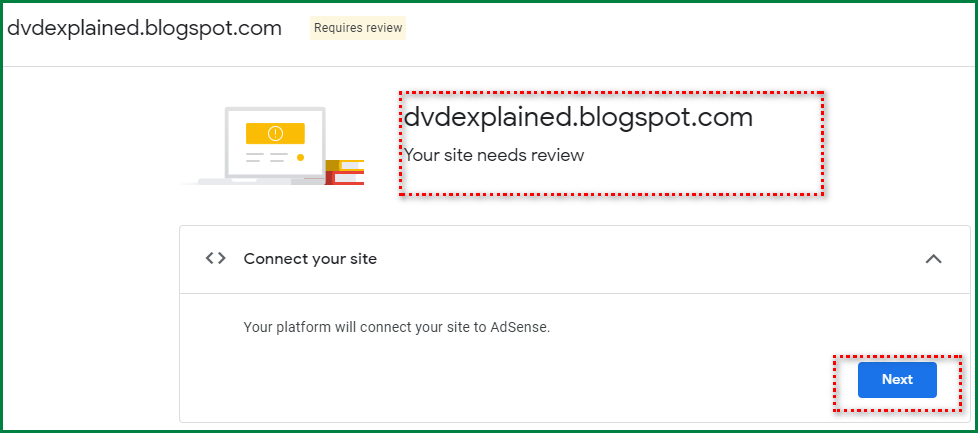
Step 7- Submit Your Site for Review
Submit your site for review by clicking on Next.
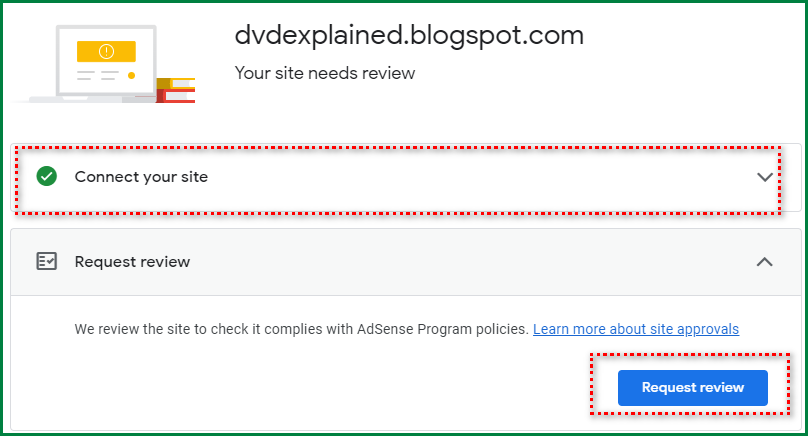
Step 8- Request Site Review
You’ll see that your blog is now connected to Adsense.
However, Google needs to check whether your blog qualifies for Adsense.
So, click on Request review.
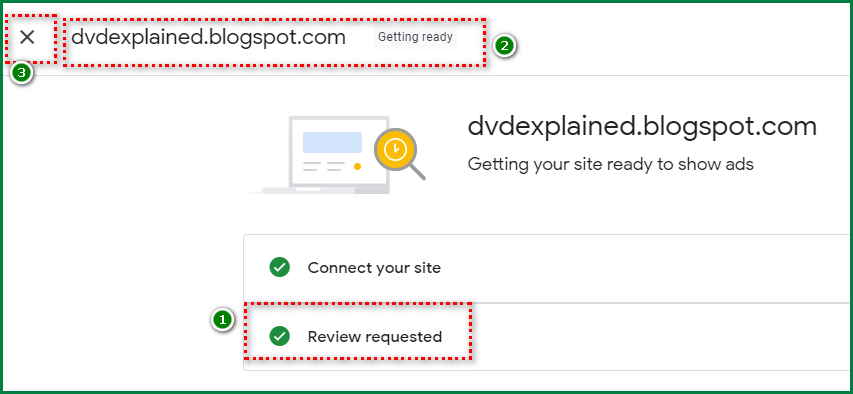
Step 9 – Review in Progress
You’ll see a Review requested notification. There’s also a getting ready notification at the top.
Click on X to exit this section.
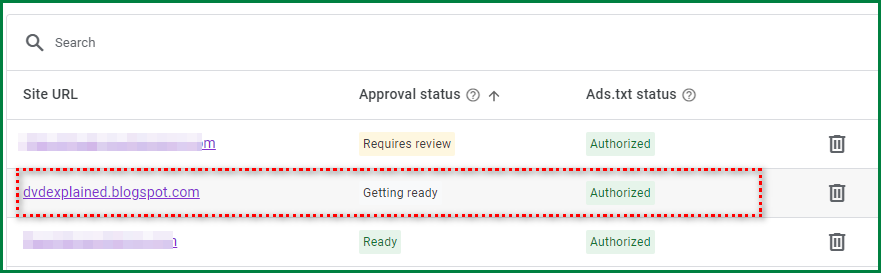
Step 10 – Check your Blog Adsense Status
You’ll see that your site has been added and the Approval status is set at Getting ready.
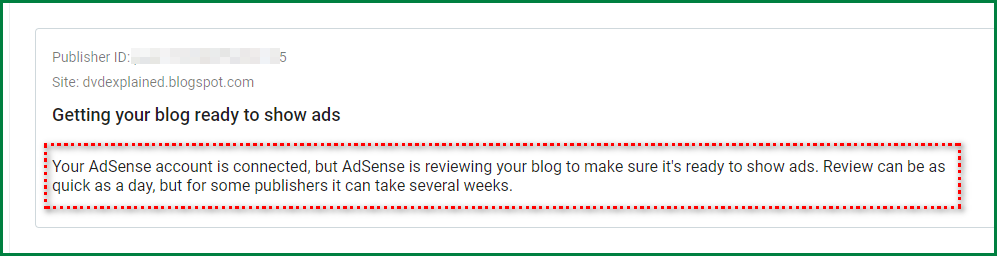
Step 11- Go back to Your Blogger Dashboard to Check Status
You’ll see a notification saying your Adsense account is connected. Before it can show ads, Google needs to review your blog.
If Google approves your blog, then you can start showing ads.
How to Get Adsense Approval
As you can see from the above, Adsense approval isn’t automatic. Google reviews your blog to see if it complies with its Adsense policies.
Here’s how you should prepare a blog for review.
No Objectionable Content
Google has a list of blog topics that will not be approved for Adsense. Among them are gambling, firearms and pornography. Make sure your blog content doesn’t fall within these categories.
Original Content
You must publish original content that provides value to your readers. To improve your chances of Adsense approval, do the following.
Have at least 20 posts with at least 500 words each to be on the safe side.
Clear Navigation
Users should be able to navigate through your blog without any problems. Your site must be well laid out with the necessary menus, categories and tags.
Check out the Adsense Guidelines.
You’ve learned how to add Adsense to Blogger. Now, go ahead and give the steps a try.